
How to configure Google Analytics in a Next.js project
Introduction
To know how many visits your software or website had, which page or tool is most accessed, you need an Analytics tool that has this information, and a good option is Google Analytics.
In Google Analytics, it is possible to see this and other information for free.
Create a new property in Google Analytics
To perform the integration, you must have a Google Analytics account, create an account, and enter the panel.
Within the panel, go to Settings, there will be an "Add" button, click on add property.
Fill in the property name information, number of people in the company, and industry.
Information will appear to add the property for tracking with data collection, "Web", "IOS", "Android" will appear.
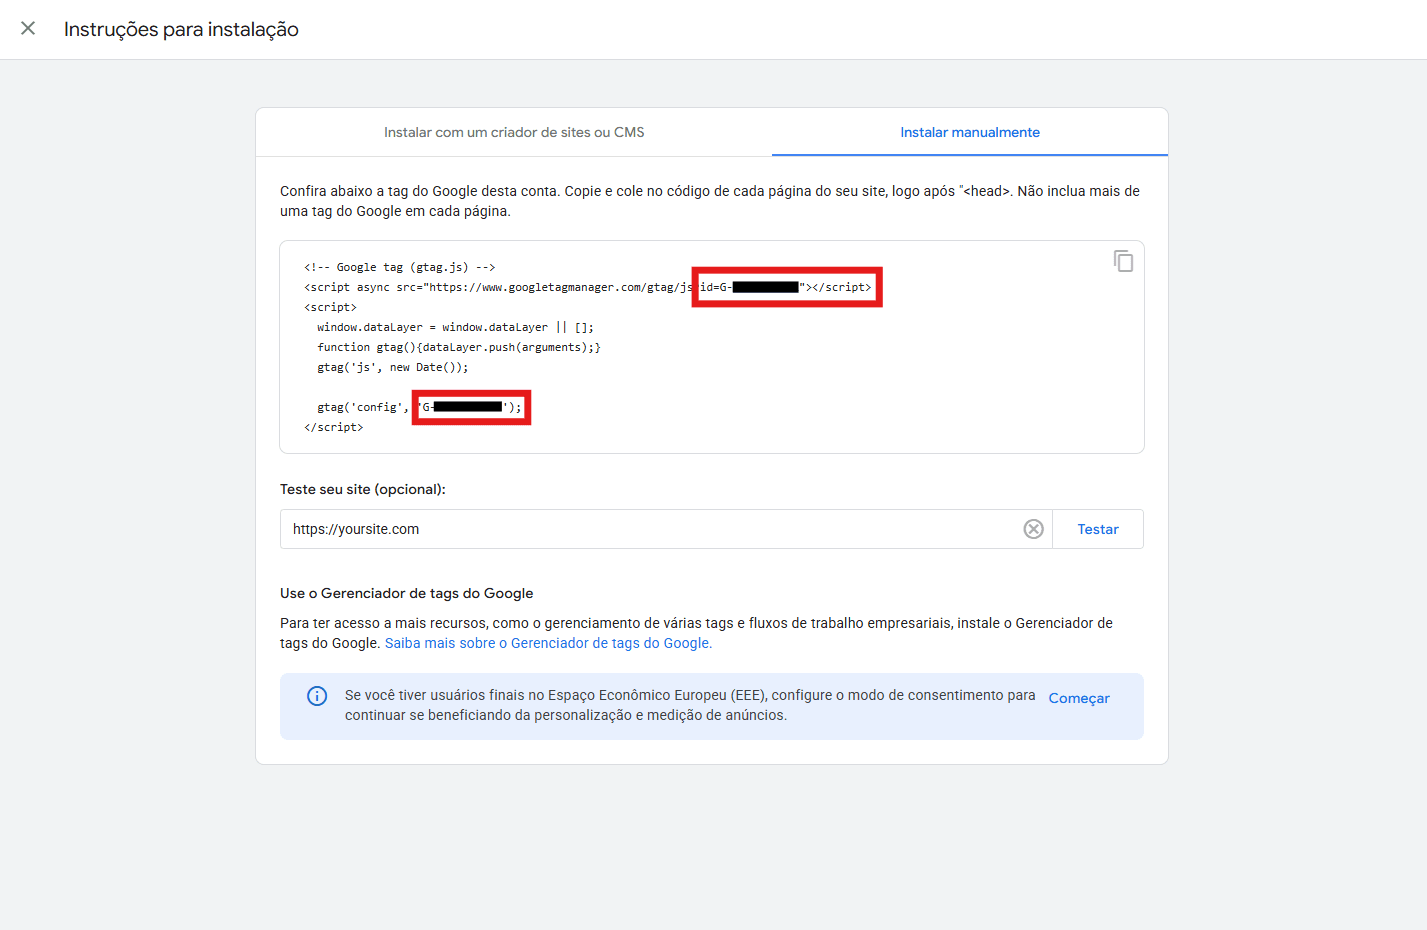
In the case of a website or web software, select the "Web" option. Fill in the information with the URL and site name, after filling it out, click on the created item, and the script to add Google Analytics to the project will appear.
The most important part of this script for Next is the measurement id, this id will be added to the Next .env later, copy this Id and you can finish the process within Google Analytics.
How to integrate in Next.js
In the project, inside .env.local, add the key
NEXT_PUBLIC_GA_MEASUREMENT_ID=G-XXXXXXXXXX
With this key already in .env, you need to install the @next/third-parties library, which is recommended by the Next.js team for this integration.
Install with the command:
npm install @next/third-parties@latest
After that, add within the Root Layout, the call to Google Analytics, using the lib and passing the key from .env that contains the Id. Like this:
// File: src/app/layout.tsx

import { GoogleAnalytics } from '@next/third-parties/google'

export default function RootLayout({ children }: { children: React.ReactNode }) {
  return (
    <html suppressHydrationWarning>
      <body>{children}</body>
      <GoogleAnalytics gaId={process.env.NEXT_PUBLIC_GA_MEASUREMENT_ID!} />
    </html>
  )
}
With this installation, it will already track page access change events.
How to track specific events
To track button clicks, it is possible to do so by calling the window.gtag('event', eventName, params) function, but the ideal is to create a wrapper file to contain this method and be able to be called in any Client Component.
Create the file src/lib/analytics.ts, with the content:
declare global {
  interface Window {
    gtag: (...args: unknown[]) => void
    }
}

export function trackEvent(eventName: string, params?: Record<string, unknown>) {
  if (typeof window !== 'undefined' && window.gtag) {
    window.gtag('event', eventName, params)
    }
}
And in the location where you want to track the event, do so by calling:
import { trackEvent } from "@/lib/analytics";

<button onClick={() => trackEvent("my_event", { parameter: "value" })}>
    Button
</button>;
How to create a custom dimension
For the custom parameters sent along with the event to be tracked, it is necessary to define these parameters within Google Analytics.
Go to: GA4 Dashboard > Admin > Custom definitions and click on Create custom dimension.
Give a name to this dimension, select the scope, if you want define a description and where it says Event parameter, put the same key that is sent along with the event, using the example above, the key must be parameter.
Conclusion
With this, the implementation of Google Analytics in a Next.js project is complete, with tracking of basic data and specific data.
If you have any suggestions for improvement in this article, please contact me on LinkedIn :)